Tulou and Fortress (Part 9) - Roofing the Shrine
I've actually done a decent amount of work on the shrine since my last post about it. However, in the meantime I've been in hospital and there have been a few other issues...
So, where were we..


With the two pieces overlaid, I get where the shapes will be fitting together and identify where I'll need to be cutting. I've done some rough sketches and have got a good idea of how I want the general shape to look, but I'm allowing room for evolution and unexpected elements to guide the design as necessary.

Needing some cross beams for structure, I measure a piece across the tp of the building base. (At this stage I've also mounted the building structure on a 10cm x 10cm square of MDF, which will temporarily anchor it in the Tulou for the final modular assembly)


So, step by step we build a framework for the roof, and regularly compare it to the base to make sure it fits. I'm gluing the piece of wood together with a wood glue (which probably isn't surprising), but I'm also reinforcing it with some superglue to add some strength. It's all coming together fairly well. In scale, I think these elements of timber framing would be massive square cut logs, maybe 25-30cm square, so that's probably not as realistic as it could be, but if this shrine of designed to withstand the test of time in a realm where magical warfare is common, maybe good sturdy logs would be necessary.

That basically suits the frame. I'll need some diagonal roofing beams to stretch out to the corners, but I'm not sure of the best angles for that, so I'll need to add those when the "roof tiles" start going on. Another thing to consider here is that I'm aiming for a "Chinese" style of roof, not a "Japanese" one.
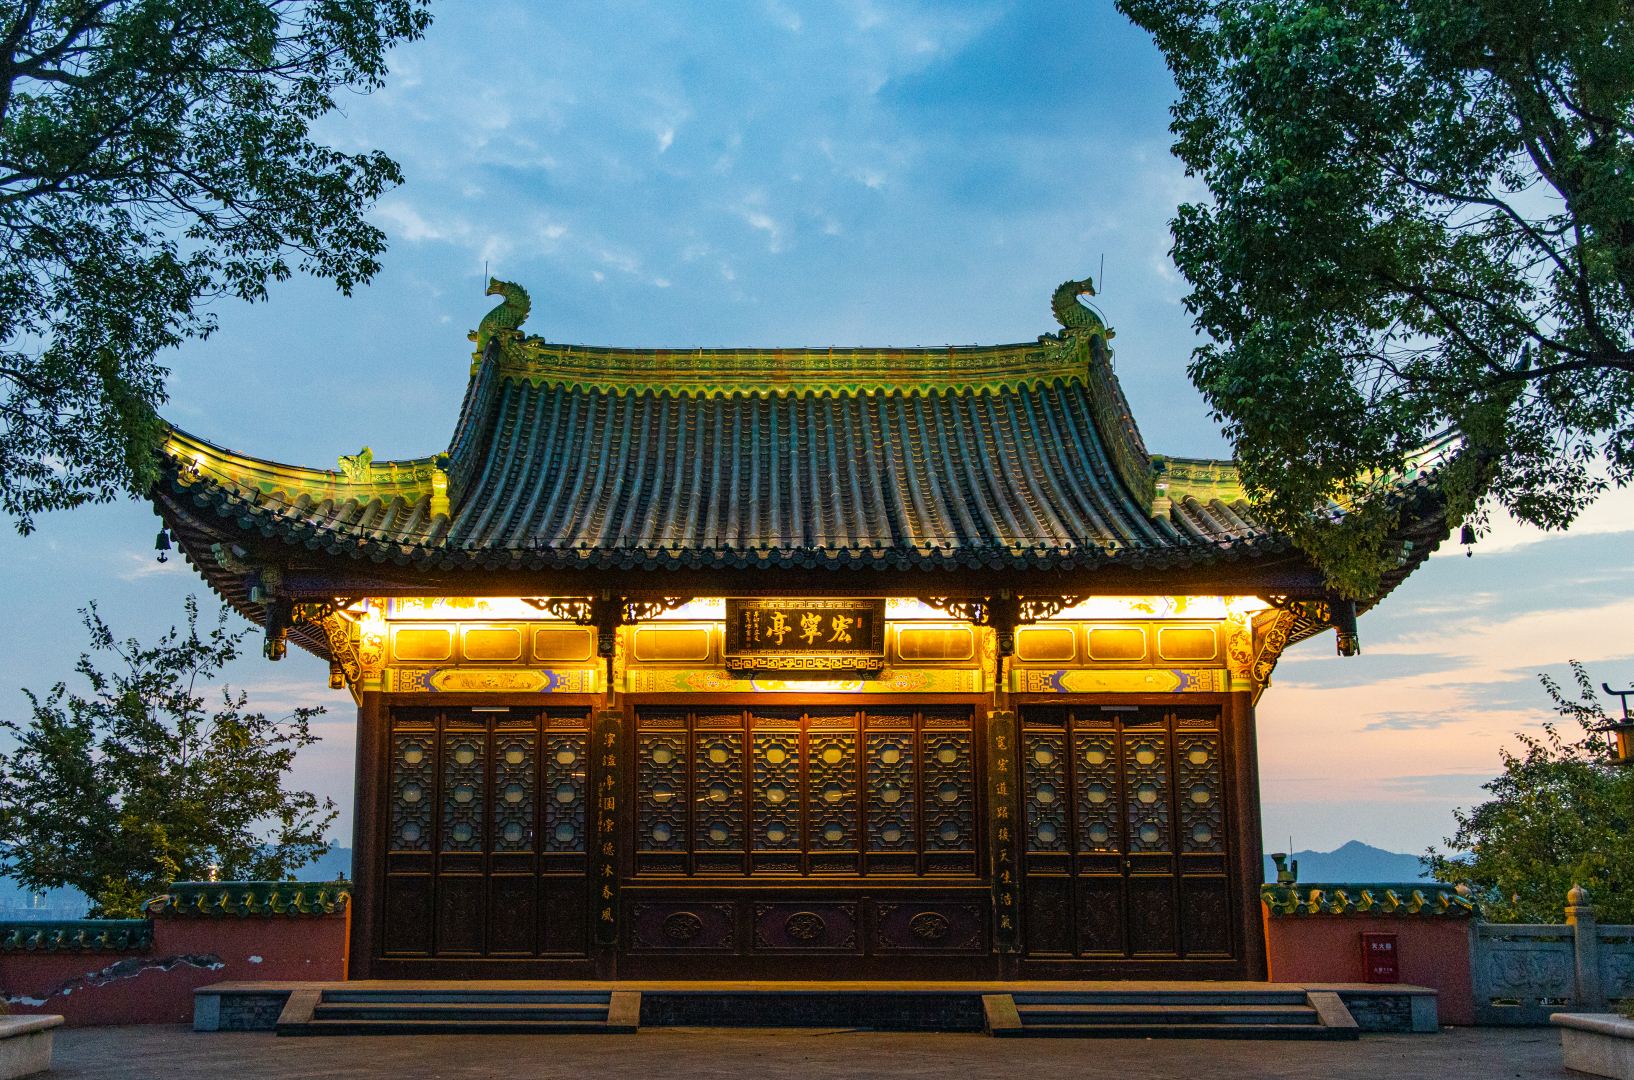
(Chinese - more curves, more elaborate decorative elements)

(Japanese - straighter lines, yes, I can see that the roof it still curving, less ornamentation)
(Note: These comments on architectural roof styling are pretty stereotypical, and certainly not always the case, but it's trying to give an idea of the thought process I go through for this sort of thing)

I've had some finely corrugated cardboard in my supply boxes for a while, and since I'd originally bought it for a project like this, it made sense to use it. It usually looks roughly like tiling when I cut it into strips and lay it in horizontal lines across the roof. I've reinforced it by cutting some paddle-pop/popsicle sticks in half lengthwise and gluing it under the cardboard. For the outermost row of the cardboard, two sticks were glued to the strip of cardboard. Layer by layer the roof was being built up, but I looked at the model and looked at photos of what I was trying to emulate, and noticed that the tiles should have been aligned better. My usual technique works well for Mordheim terrain, or pseudo-medieval European roofing, but a change of tactic would be needed here. It also hadn't been getting the curved look I've been after.

The remainder of the roof I made from 4 pieces of cardboard. I curved a piece of paper and gently drew the curvature shape matching the existing parts of the roof. I did this a couple of times, but once this shape matched the curves I needed, I used it as a template to trace onto the flat under-side of the cardboard. Gently cutting in lines 1 cm apart across the horizontal (against the grain of the corrugation) means that I can for some gentle curving that follows these lines. The top part of these roofing sheets was glued directly to the framework, detaches along the curve in the middle, then reattaches with glue to the tile rows that had already be placed.
Not exactly what I had originally envisioned, and it probably looks more Thai than Chinese or Japanese...

...but I can work with it.
Next I'll be adding some detail elements, then painting and texturing.
.png)

Comments