City Geomorph Step by Step (Part 2)
As we start this post, I've got the basic layout for the geomorph pencilled in. I'll remove the template from behind the hex, so that we can get a bit of a clearer image.
Here, I've got streets and coastlines marked in for the small harbour, and a couple of vague ship shapes.
Next, I'm one of those terrible people who starts inking things before the pencilling is complete. I've got a pretty good idea of where I'm heading and how to get there, but I like the chance of screwing up a bit to make the workflow a bit more prganic and unexpected.
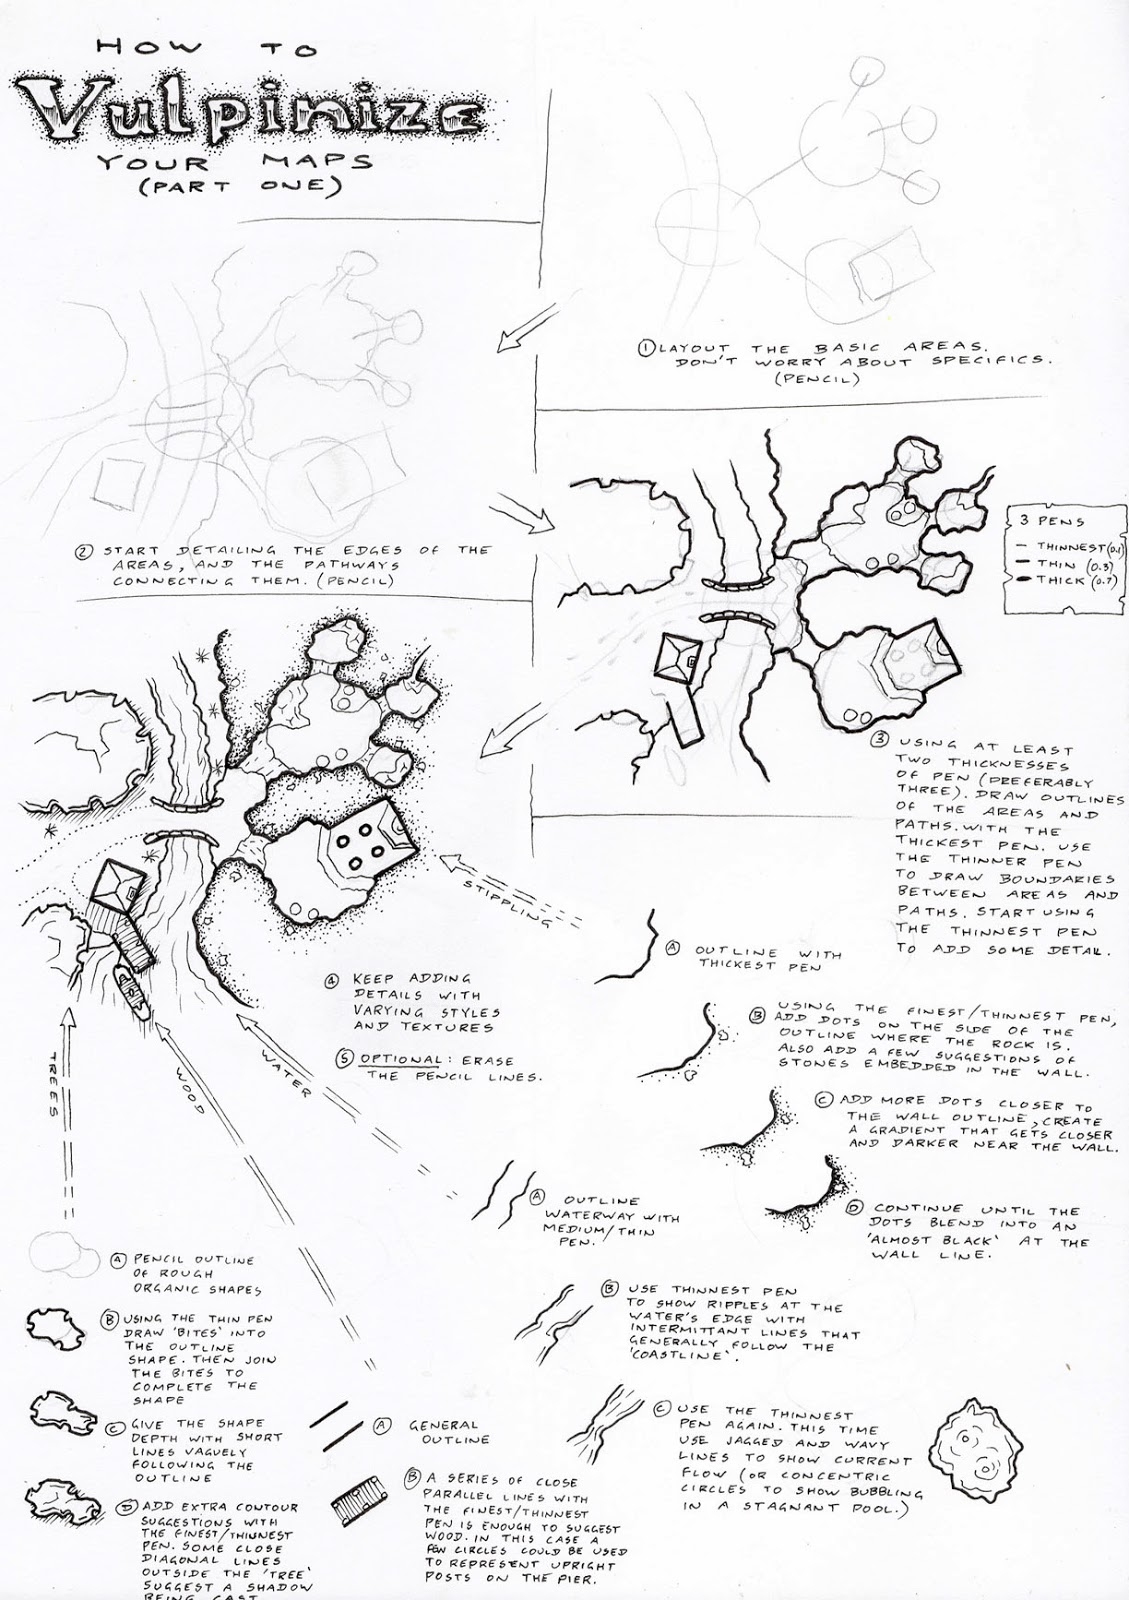
I have a range of felt-tipped pens in varying thicknesses (0.1, 0.3, 0.5, and 0.7mm). I like to work with the idea that a thicker line means a more dramatic shift between the mapped terrain on either side of it. 0.1mm lines reflect things that can be easily traversed (moving from concrete path to road, or rocky terrain to sand). 0.3mm lines reflect more significant changes that present a minor obstacle (fences, roadside curbs, crates, small trees and bushes). 0.5mm lines are dramatic changes that typically can't be crossed without game/story effects (building walls, moving from land to water, major elevation changes like cliffs). 0.7mm lines represent basically impenetrable barriers (walls of a cave or dungeon).
I've started here with 0.5mm lines marking the coastlines and the docks. The coastlines are drawn freehand with a jagged continuous stroke to look natural and a bit rocky, the docks are drawn with a straight edge to contrast the manufactured quality. I haven't done much with a straight edge on any of the geomorphs so far, because it's typically quicker to work freehand, and I've practiced drawing relatively straight lines for years (decades)... It's just my style.
Next, I draw in the streets with 0.3mm linework. I'm deliberately continuing the linework of the streets off the hex frame, because if these geomorphs are foing to be printed up, there needs to be room for bleed.
I've noticed here that the street leading up to the point comes to a dead end, so I find something small to trace around for a turning circle.
Oh, I'll also point out the gap in the coastline at the lower right. This was a spur of the moment decision during inking, but like all good docks there will be a seafood/fish-and-chips resaurant here for the dockworkers to have their lunch and for tourists to sample the local edible aquatic delights.
Shifting to a mix of pens, I start adding more detail. I outline some warehouses (the rest of the dock area will be filled with shipping containers and trucks), these are done in 0.5mm. Ship outlines are also marked in 0.5mm. A breakwater is added between the "island" and the mainland, in a mix of 0.3mm and 0.1mm. Finally a few beaches are added to the shoreline in 0.1mm.
Next we'll move to a few more buildings.


.png)

Comments